Ir directamente al contenido

Push'ums™ funciona con una variedad de hardware preinstalado

Wire

Wire is commonly used with picture frames. This allows the frame to be hung on a single hook or fastener, providing stability and balance. HangNailz work seamlessly with wire hangers, offering a secure and simple solution for mounting frames.

Anillos en D

Los anillos en D son pequeños bucles de metal que se colocan en la parte posterior de los marcos de fotos y se utilizan para colgarlos de forma segura en la pared. HangNailz es totalmente compatible con los anillos en D y ofrece una solución segura y fácil de usar para colgar marcos.

Diente de sierra

Las perchas con dientes de sierra son tiras de metal con bordes dentados que permiten una fácil alineación al colgarlas de clavos o ganchos. Permiten colgarlas de manera nivelada sin necesidad de alambres. Las perchas Push'um son perfectas para perchas con dientes de sierra.

Cerraduras

Los orificios para cerraduras son ranuras de montaje integradas que se encuentran normalmente en la parte posterior de los marcos de fotos. Proporcionan una forma estable y al ras de montar elementos directamente en la pared. HangNailz es una opción ideal para los orificios para cerraduras, ya que ofrecen una solución para colgar de forma segura y sencilla.

Instalación paso a paso
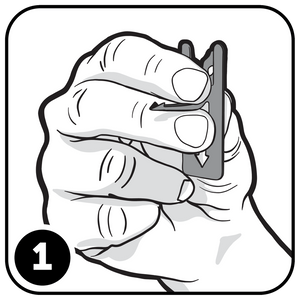
Cargando imagen:

Step 1

Hold HangNailz™ Push'ums between two fingers and thumb, supporting the prong while setting the V-Barb™.
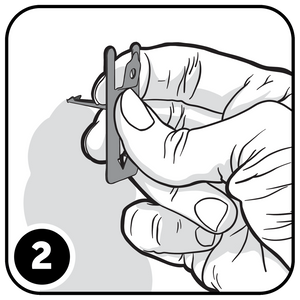
Cargando imagen:

Step 2

Push to set V-Barb™ into desired spot on wall; use caution while installing.
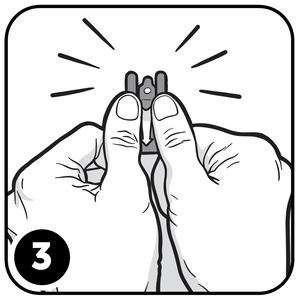
Cargando imagen:

Step 3

Being careful not to bend prong, use your thumbs and index fingers to apply even pressure until flush with wall.
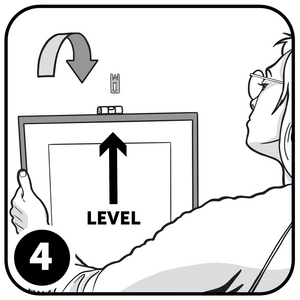
Cargando imagen:

Step 4

Use included level and hang your frame on the Push'ums hook, and you're done. It's as simple as that!

How To Use Push'ums

Eliminación y retoque de Push'ums paso a paso
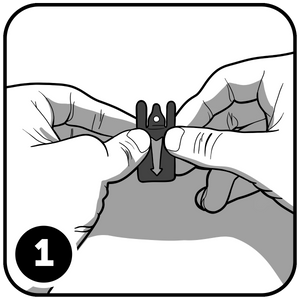
Cargando imagen:

Step 1

To remove the Push'um, lift slightly while pulling away from wall until it finds the V·Barb exit point, then pull firmly away from the wall.
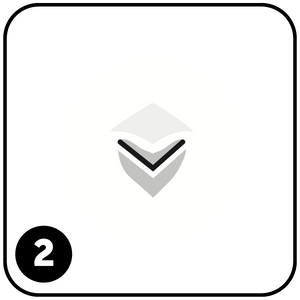
Cargando imagen:

Step 2

You will notice that a small V-shaped exit point remains in the wall.
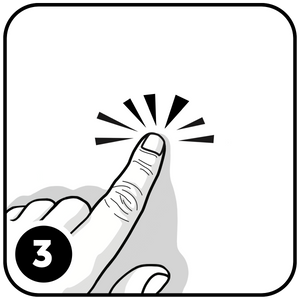
Cargando imagen:

Step 3

Press your finger on the V·Barb
exit point to flatten.
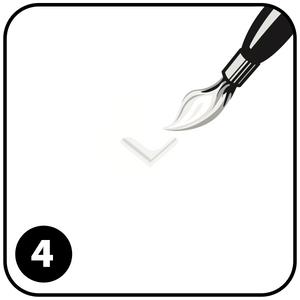
Cargando imagen:

Step 4

Then using a fingertip or a small brush, dab a small amount of matching paint into the exit point.

How To Remove'um

Back to top